
Launching a Partner’s Product on Your Site
After adding a supplier’s product via Carro, you’ll need to publish it in Shopify to make it live for customers. This article guides you through publishing the product, adding it to collections and navigation, updating descriptions and images, and completing a go-live checklist to ensure everything is ready for sale.
Publish Products to Your Online Store
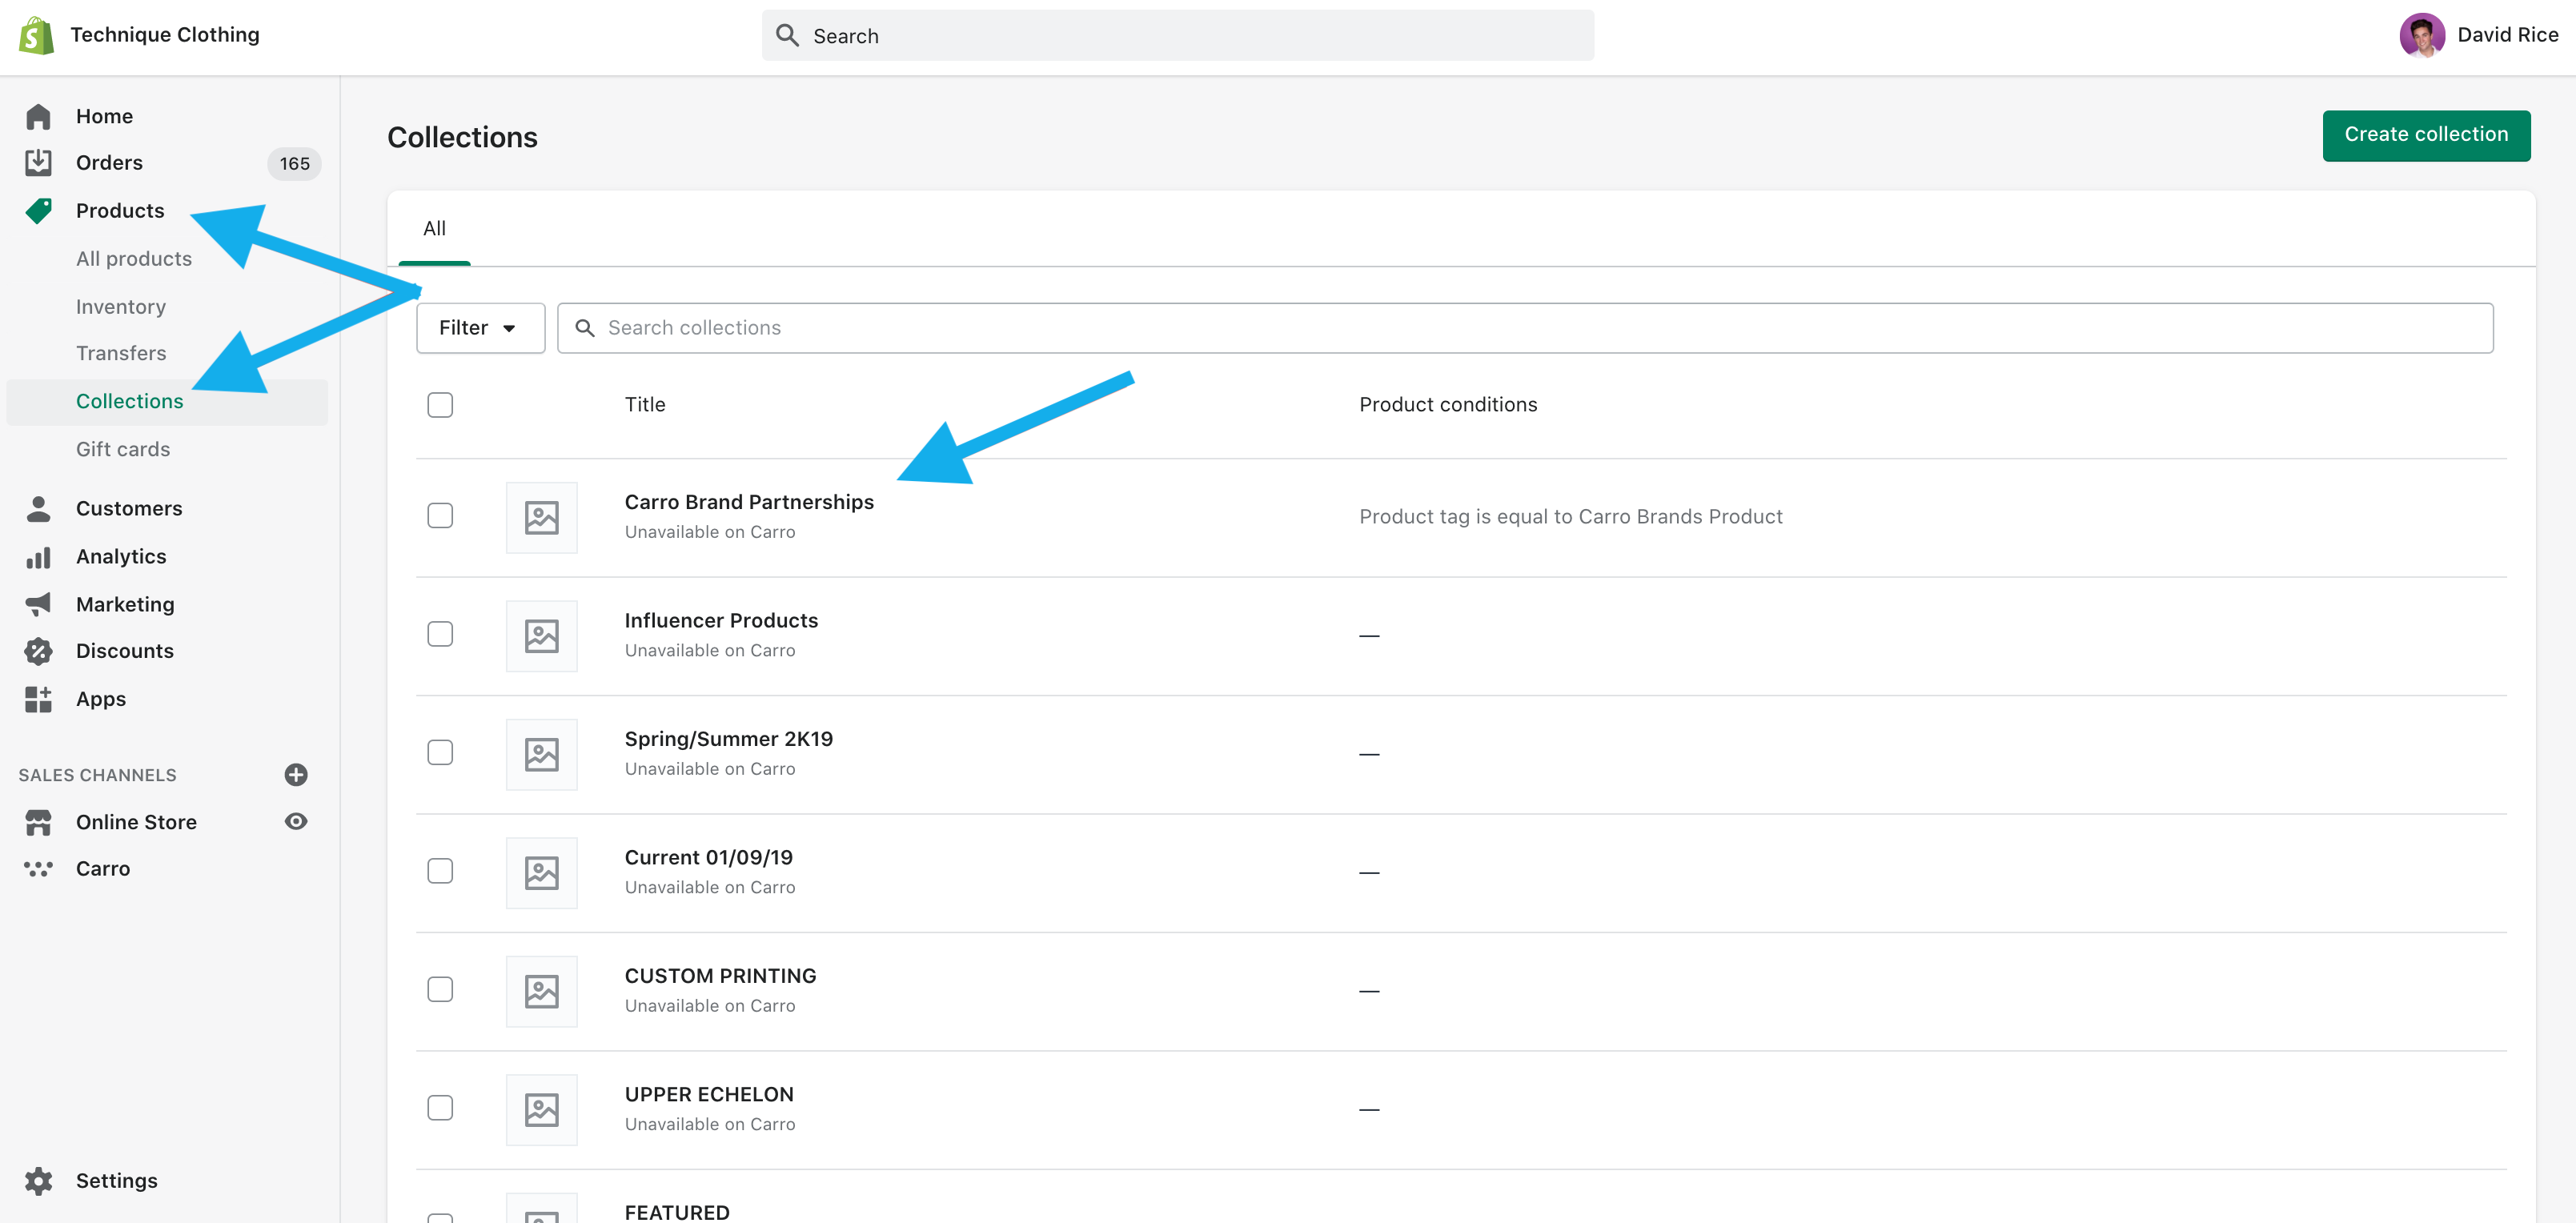
Step 1: Locate the Carro Brand Partnerships Collection
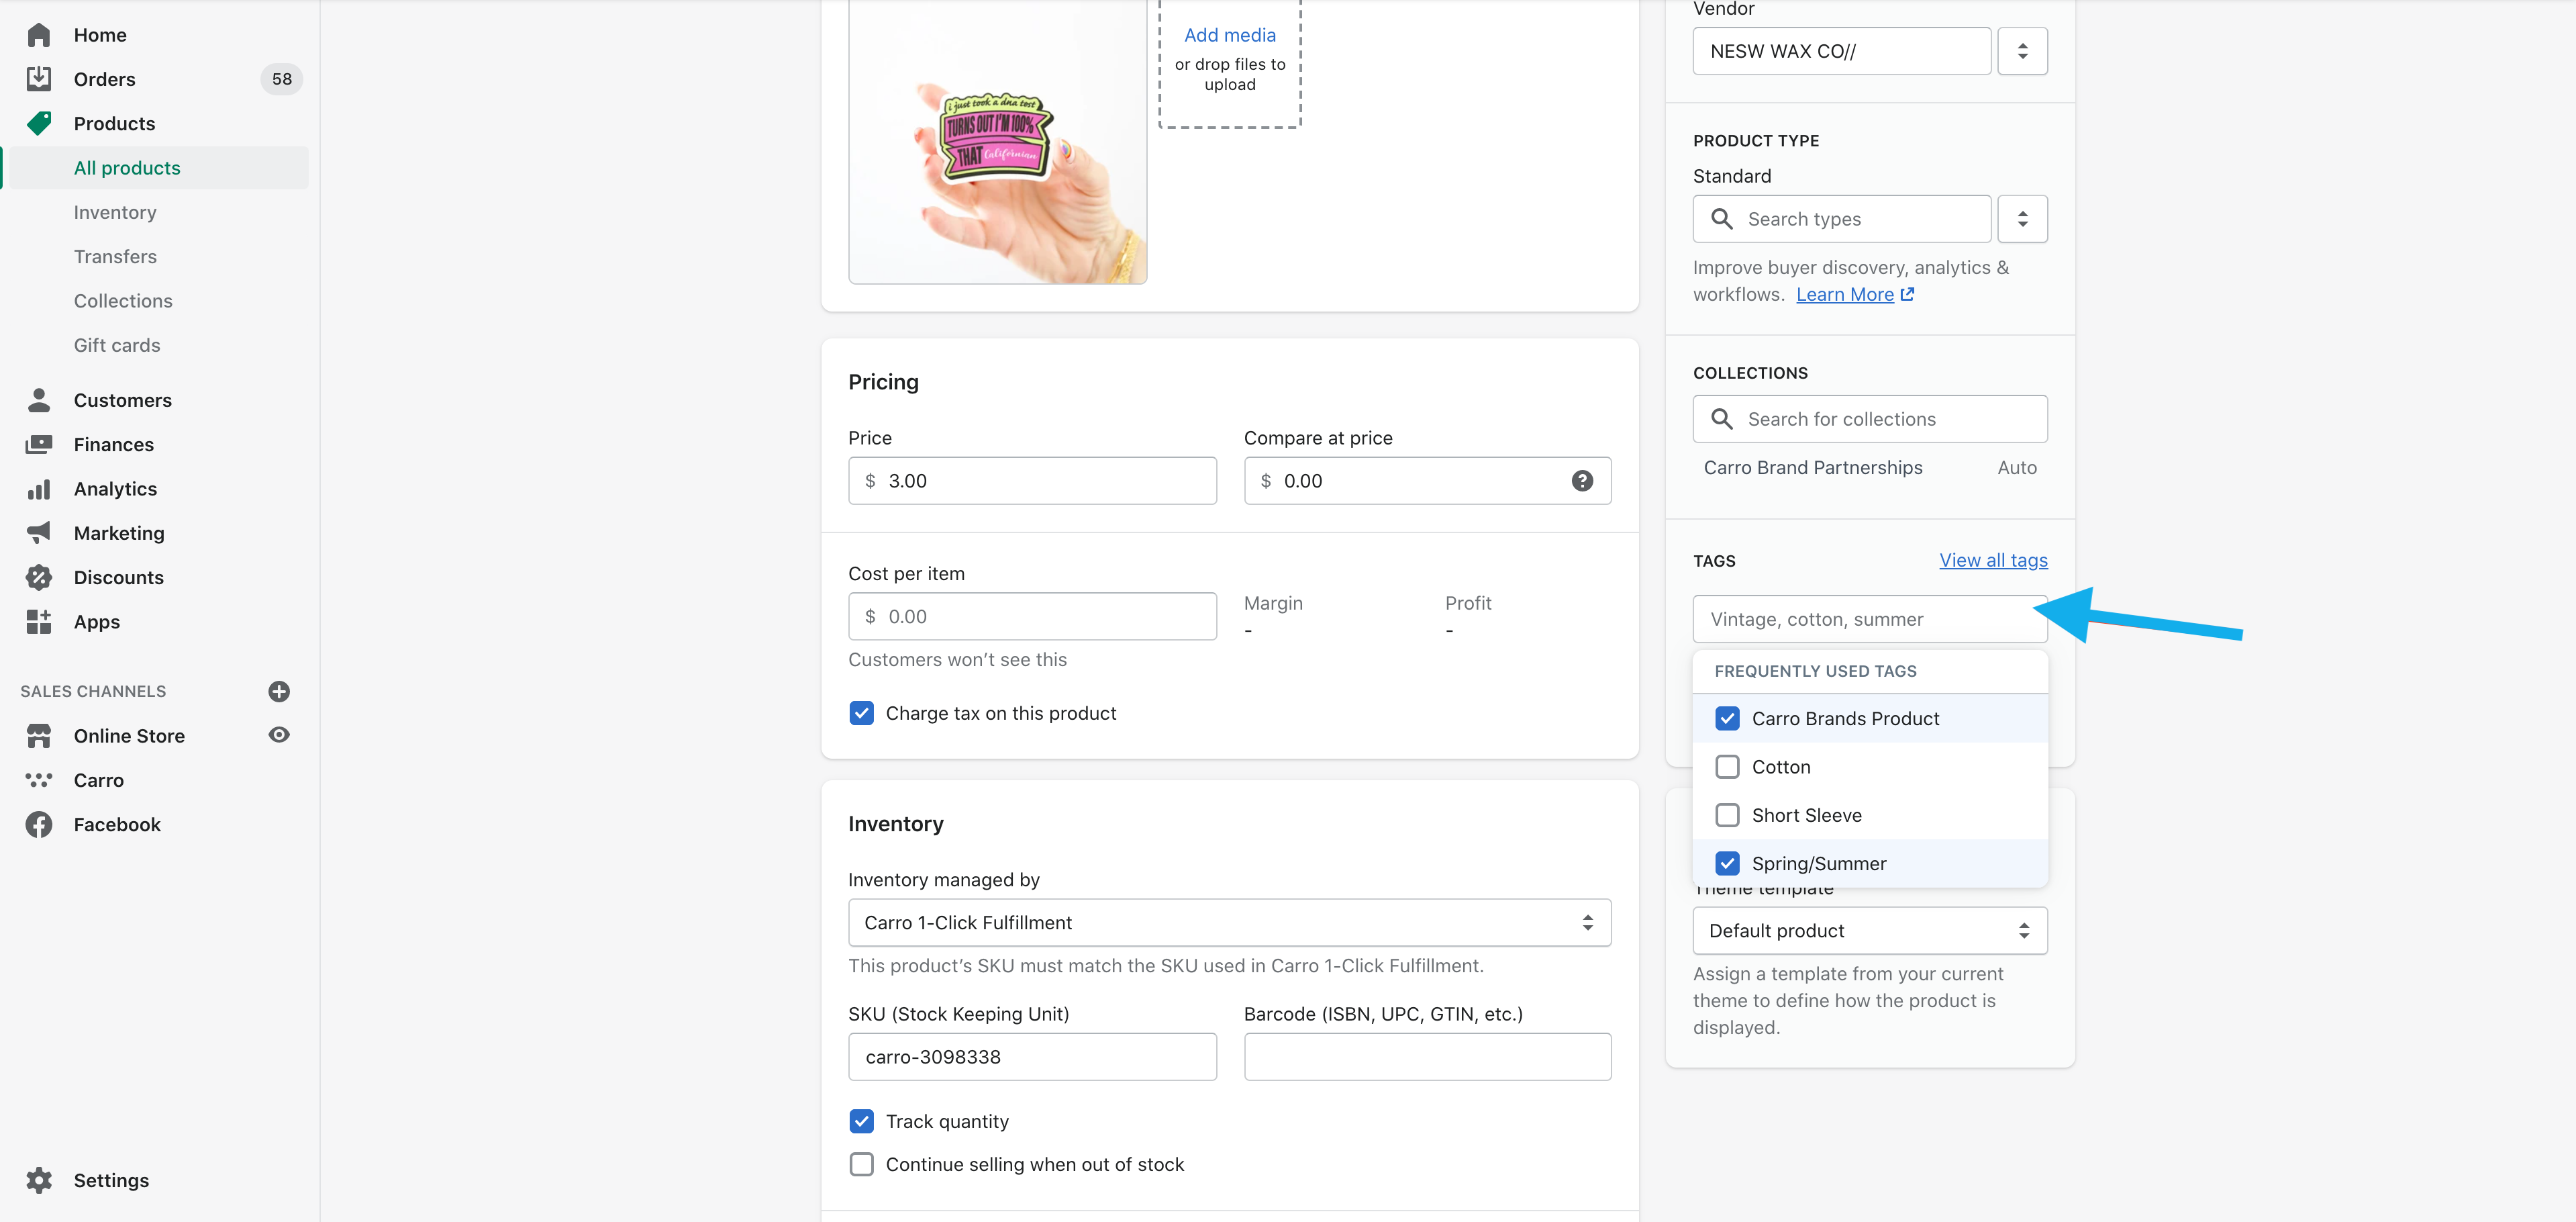
After clicking “Add to Shopify,” Carro adds the product to a collection called Carro Brand Partnerships.
This collection is for organization and is not visible on your storefront by default.
Titles, descriptions, images, and other product information are automatically imported from the supplier
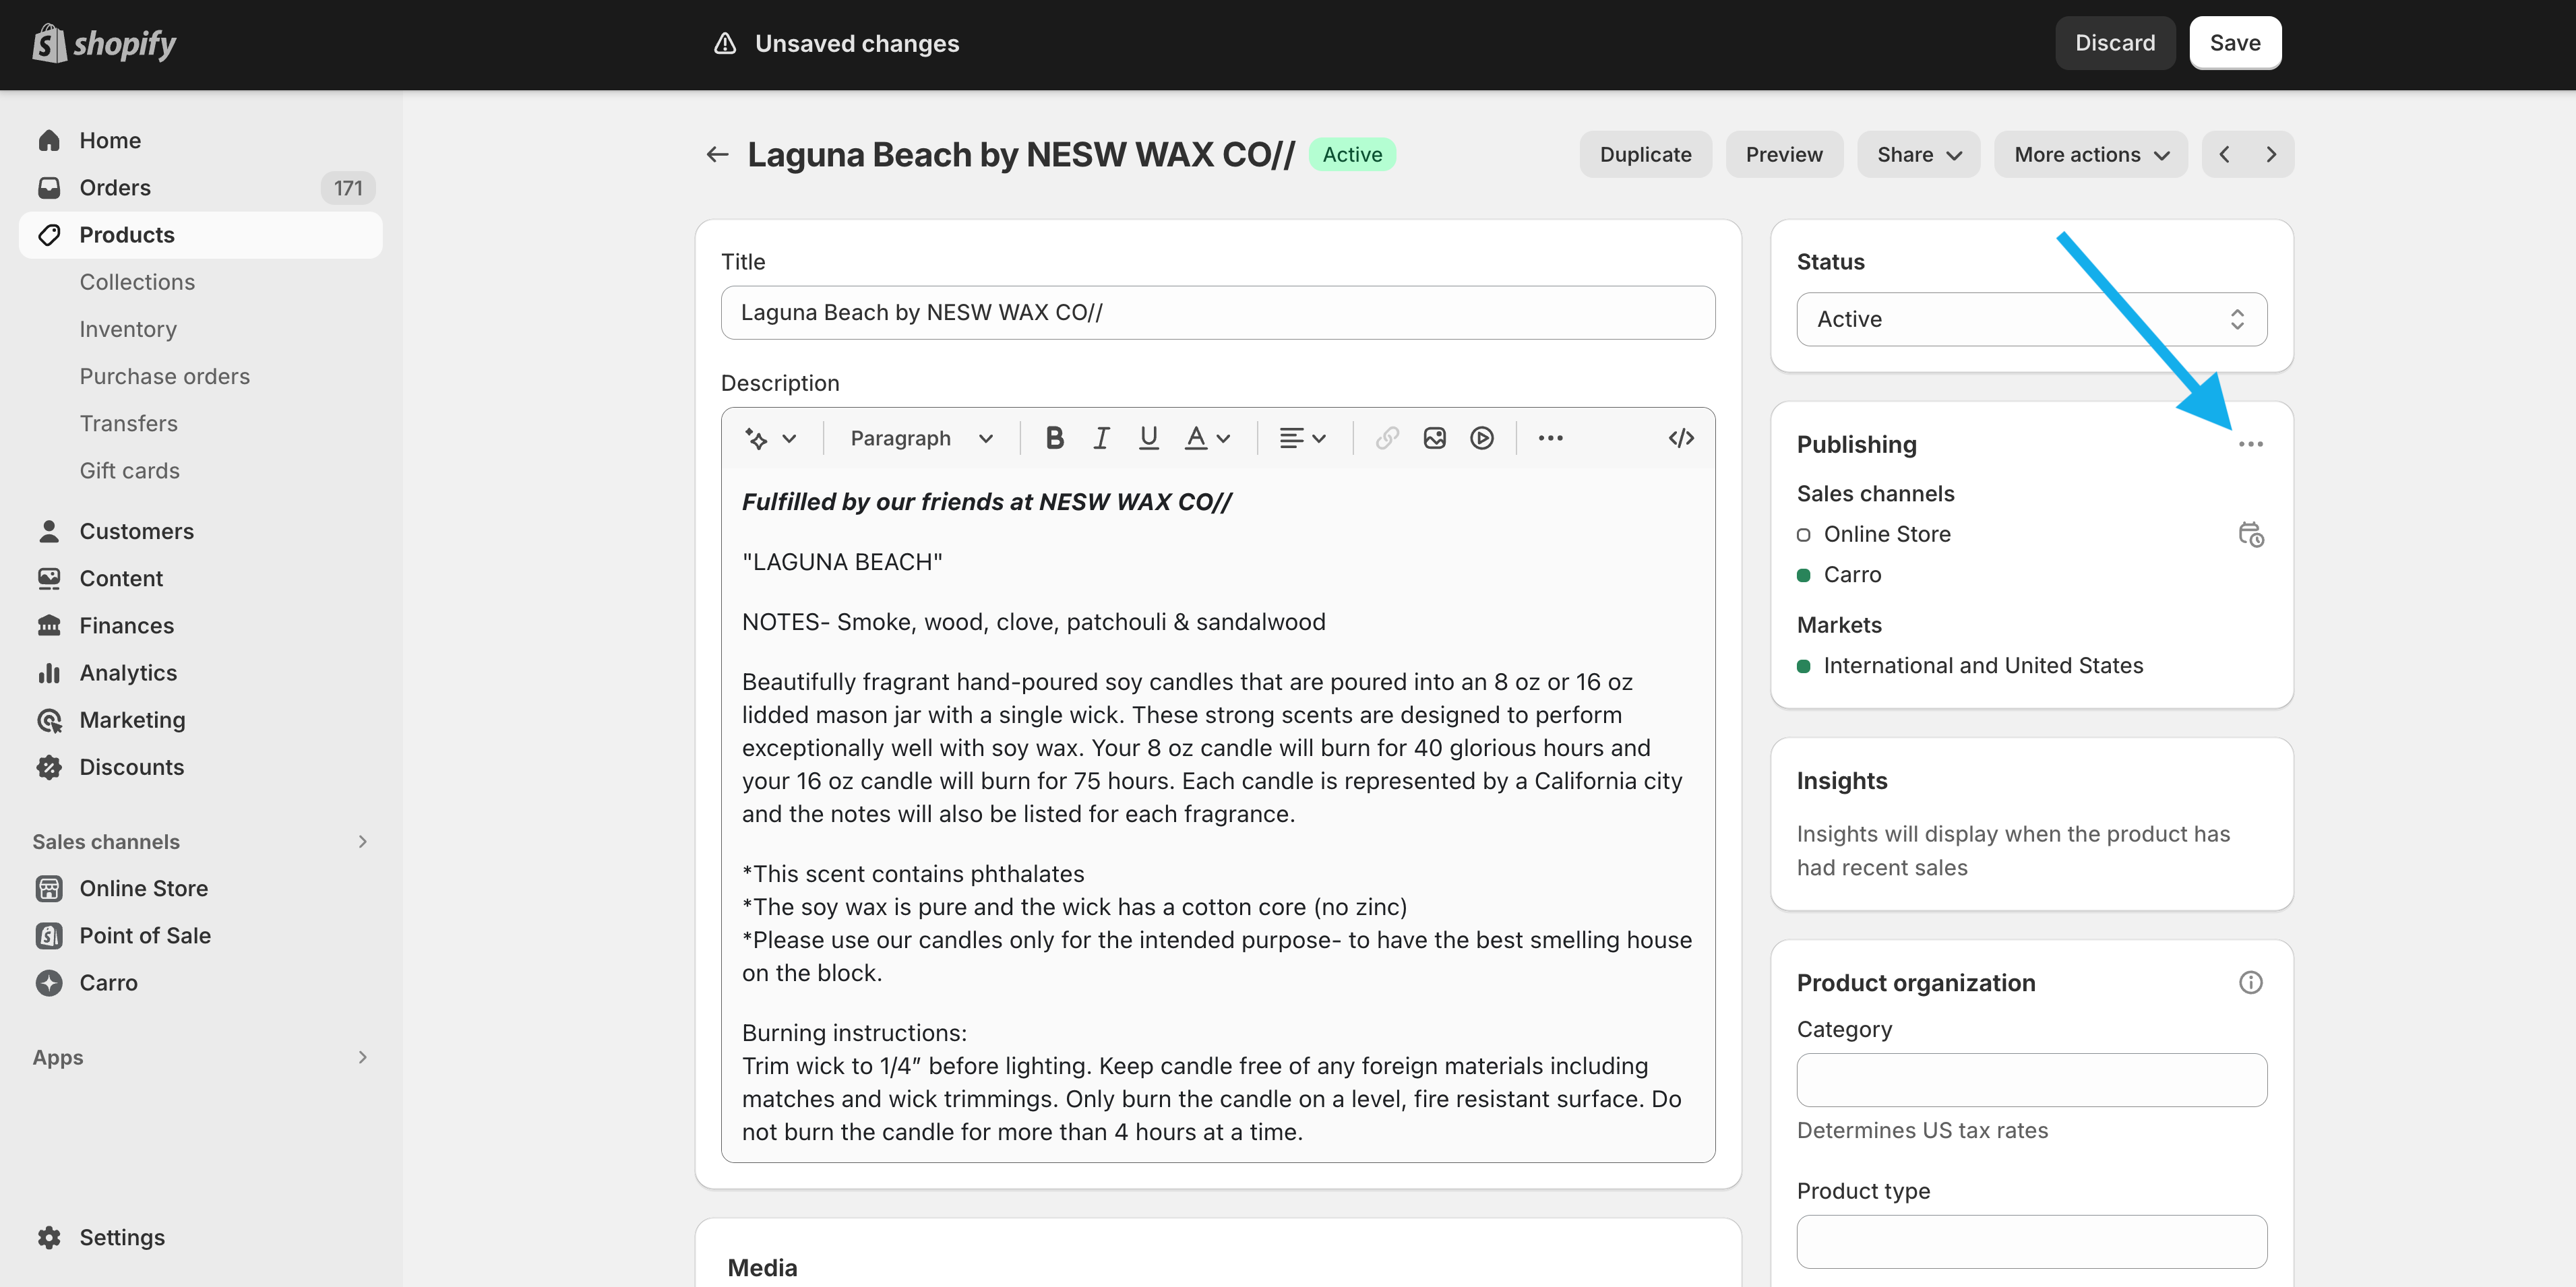
Step 2: Publish the Product
Open the product in Shopify.
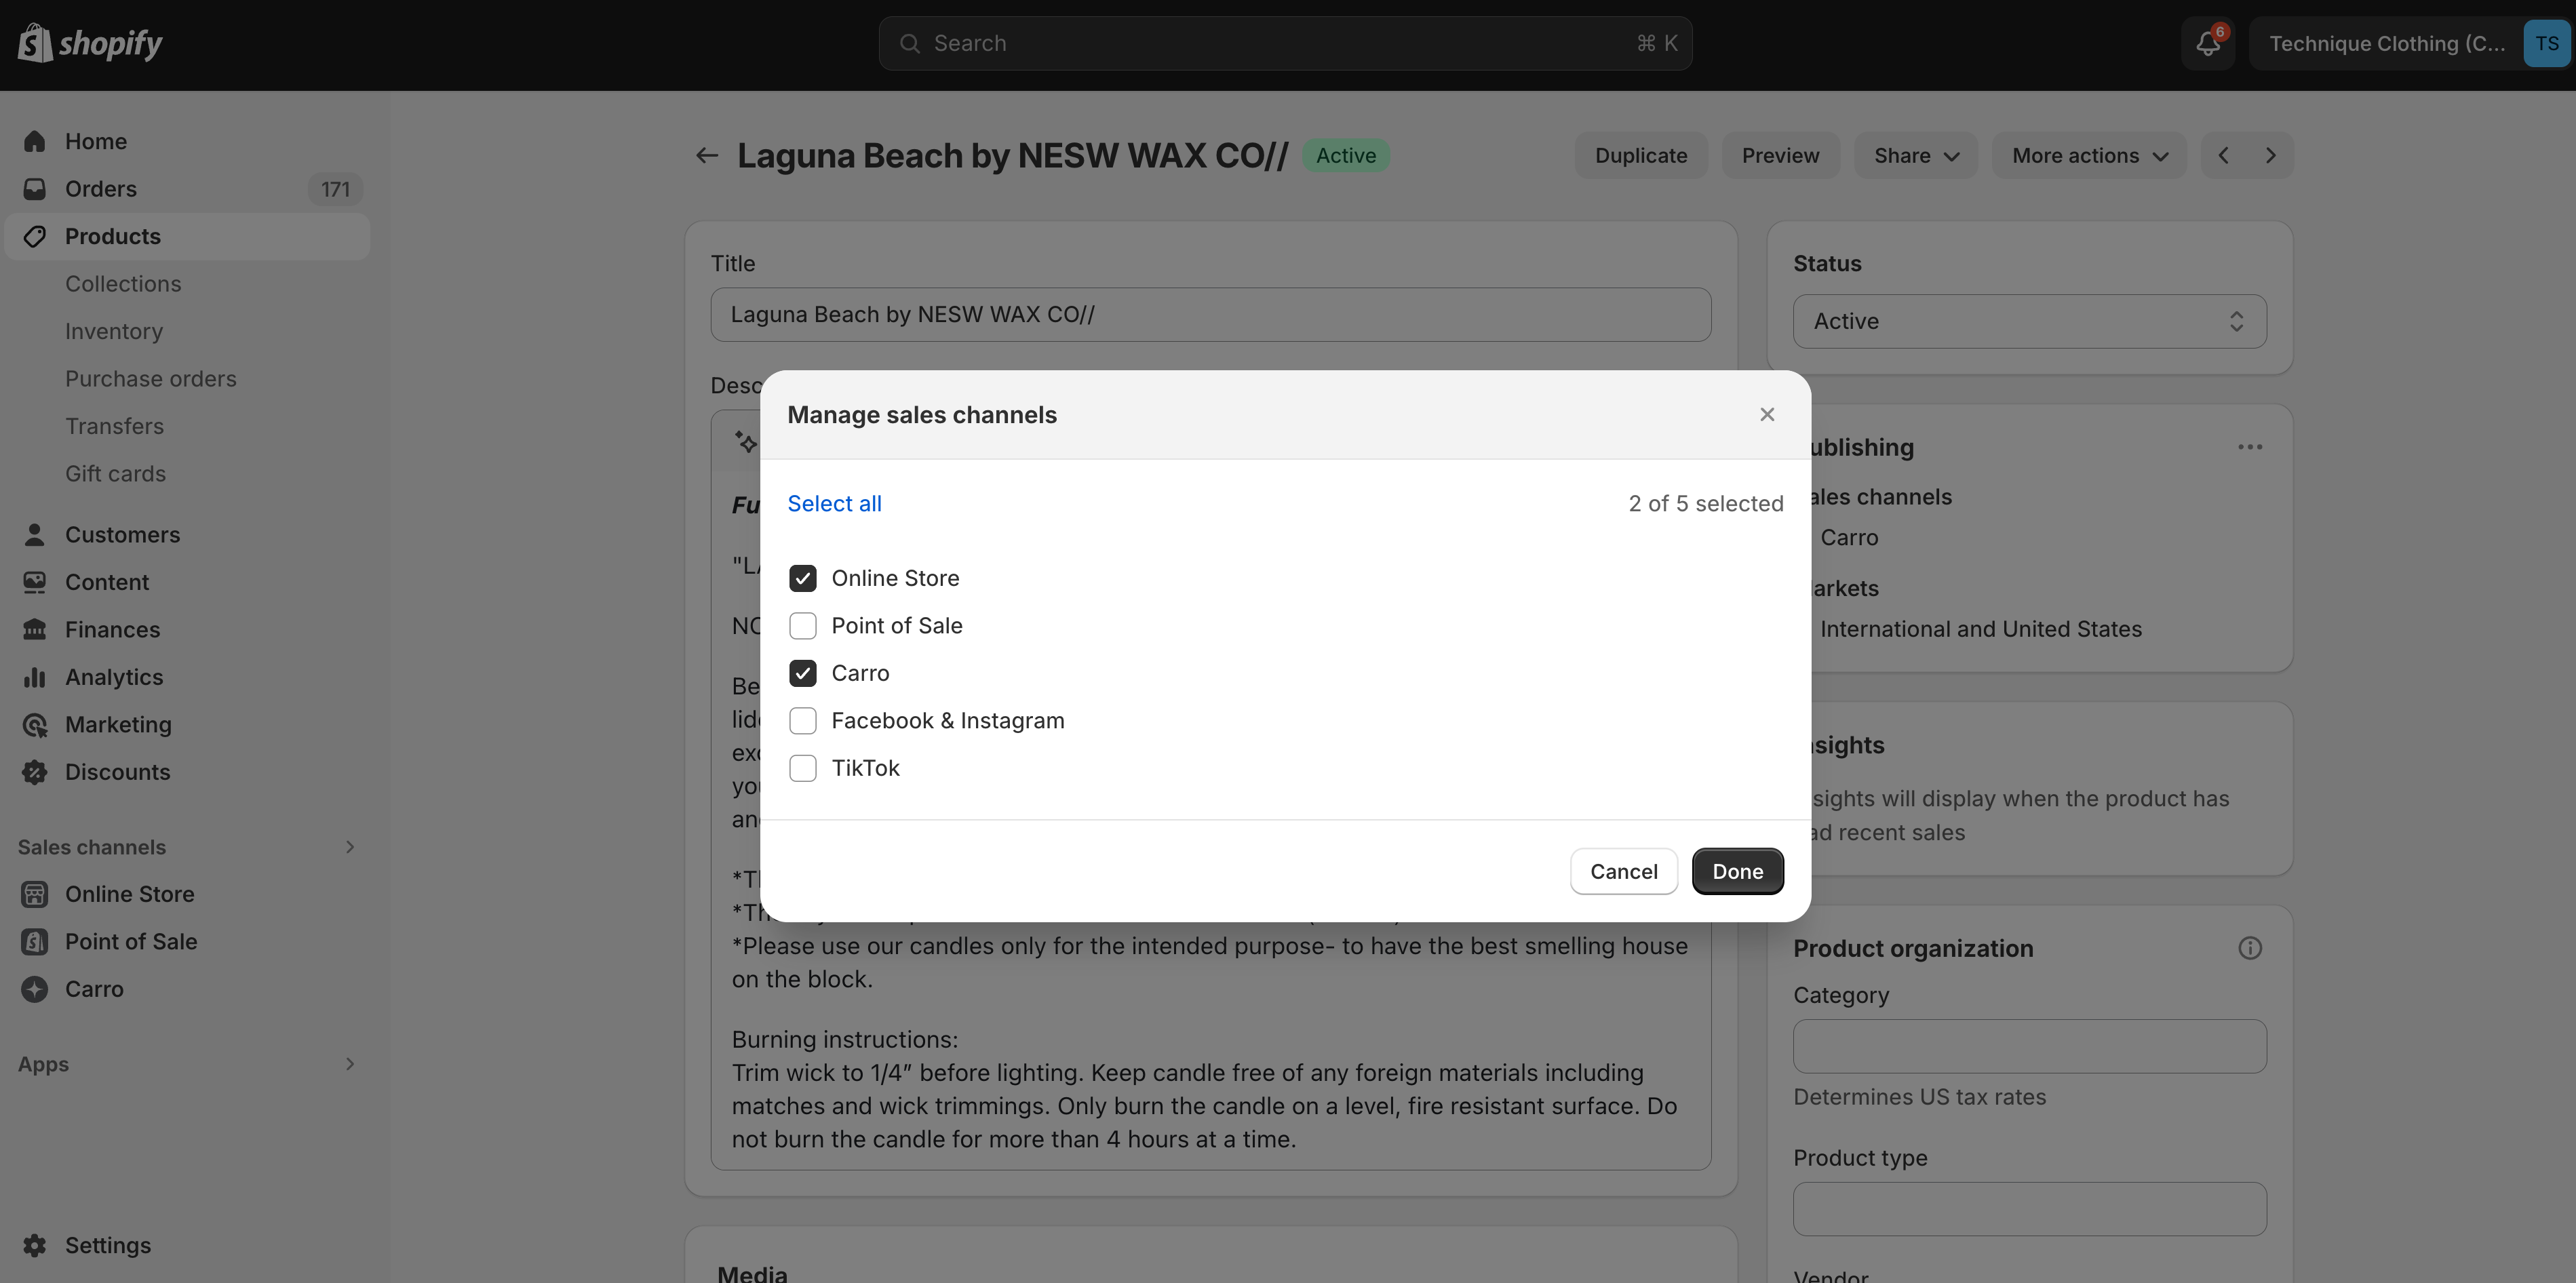
In the Publishing section, click the ellipsis.
Select Online Store > Done.
Carro is selected by default but does not need to be checked.
For bulk publishing, follow Shopify’s bulk editing instructions.
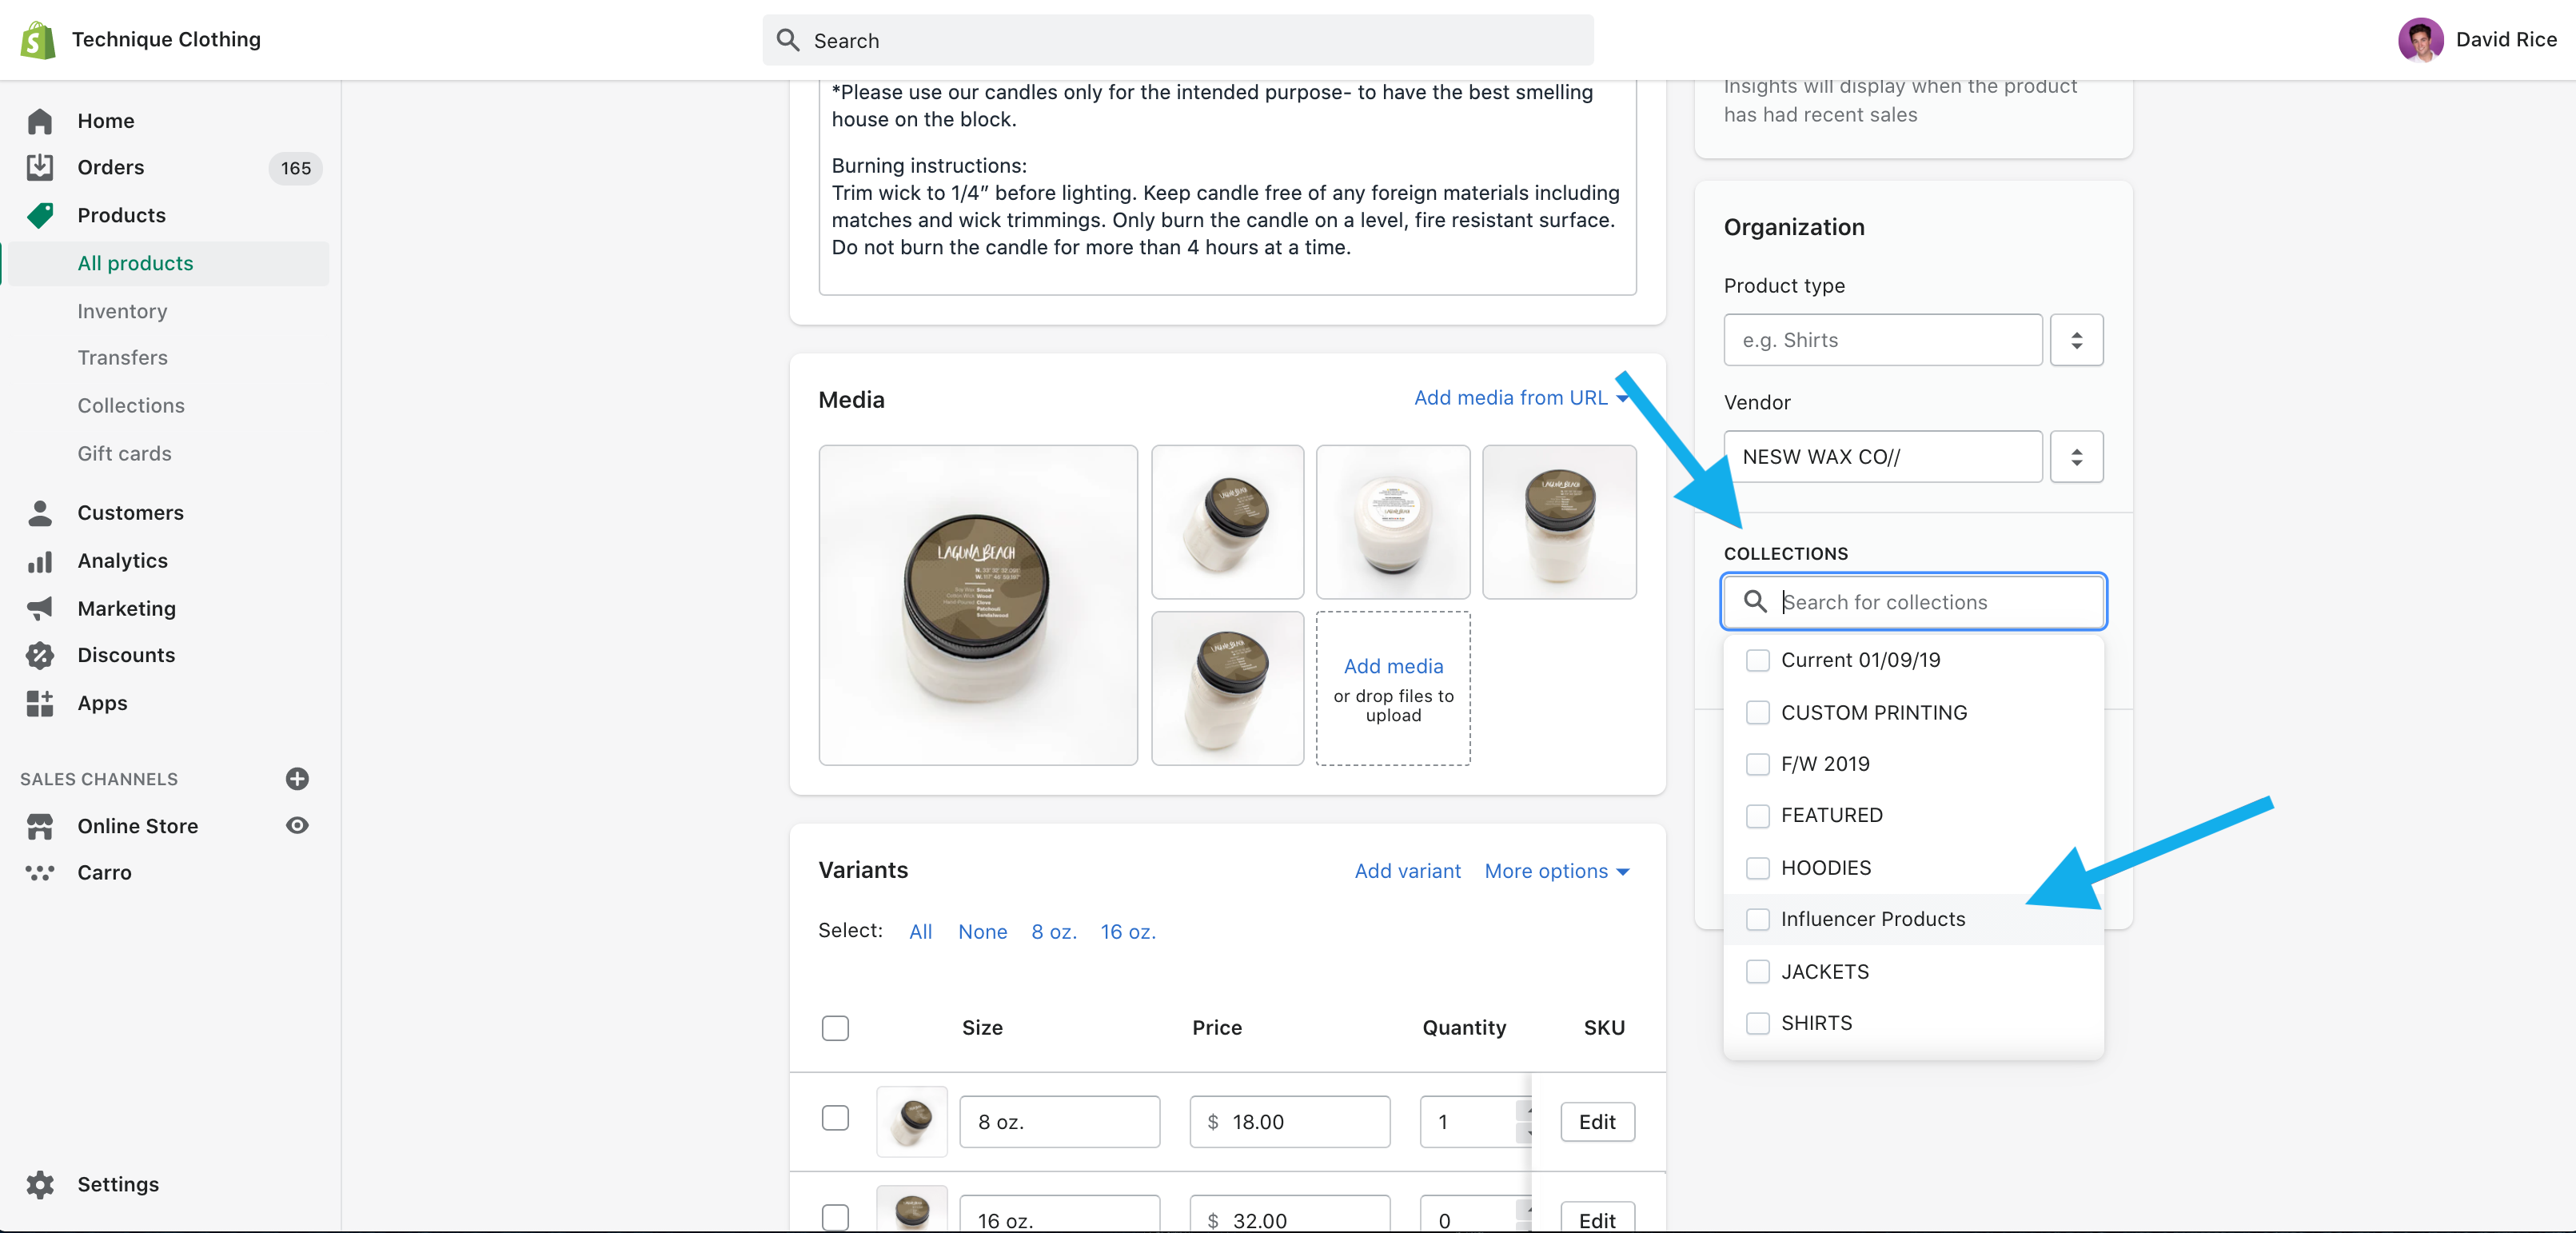
Step 3: Add to Collections and Navigation
Add the product to relevant collections and navigation so it appears where customers shop.
Products behave like any other item in your store. You can feature them on your homepage, include them in subscriptions, upsells, or promotions.
If the product doesn’t appear, check product tags based on your store configuration.
Go-Live Checklist
Verify Theme & Styling
Preview the product in your store to ensure it aligns with your theme.
Adjust if the supplier used custom code or third-party apps.
Update Descriptions & Images
Ensure product descriptions and images match your brand’s tone and style.
Retailers have full control to edit these elements.
Connect with Your Partner & Submit a Test Order
Reach out to your partner via the contact info in your Partners tab.
Place a test order to confirm payouts and ensure the order workflow functions correctly.
Tip: If issues arise, contact Carro Support at support@getcarro.com.